How to get cupid bow lips and flapper eyes. Authentic 1920’s makeup tutorial video from Glamourdaze’s Tia Semer.
How to create an authentic 1920’s flapper hair and makeup look by Tia Semer.
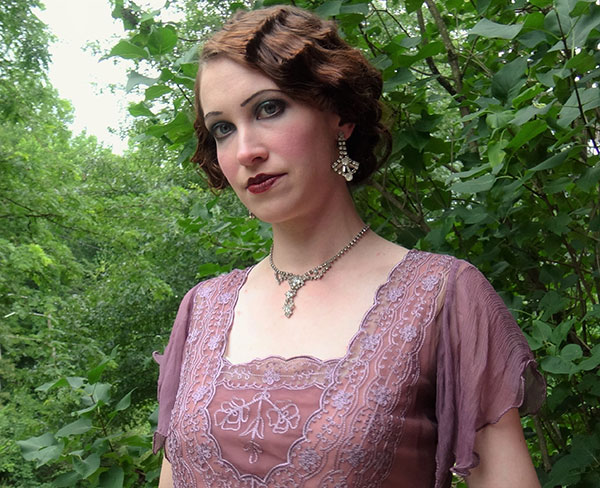
The 1920’s was the decade of raised hemlines, bobbed hair and bold cupid bow lips, I’ll show you how to get that iconic Great Gatsby inspired flapper look. Enjoy !
Lipstick called Theda, is my own creation, which you can get in my Etsy store Eliza Cosmetics.
Cupid bow lips and flapper makeup
I started by applying foundation all over my face. Make sure to get it on your eyelids, and even your lips.
Eyes
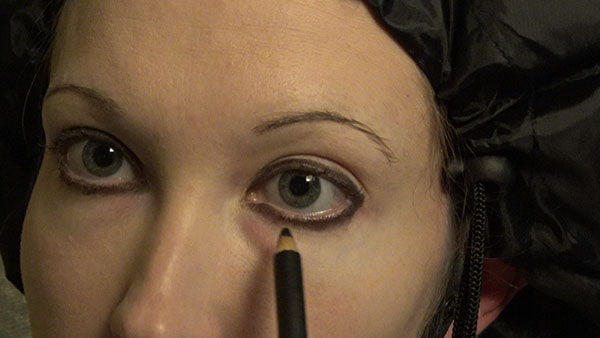
Eyeliner: Go all the way around your upper lid, into the corners; for the lower lids, just on the lash line and a little bit below the lash line, but not on the waterline of your eyes.
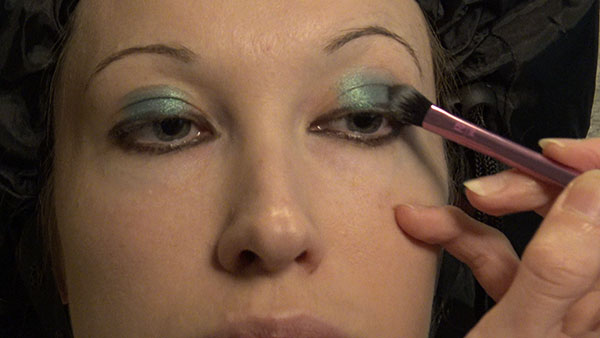
Next, I’m choosing a shimmery turquoise eye-shadow. Turquoise was popular in the 1920’s for eye makeup due to the discovery of King Tutankhamun’s tomb in 1922. I applied it on my upper lid, using the iris of my eye as kind of a guide.
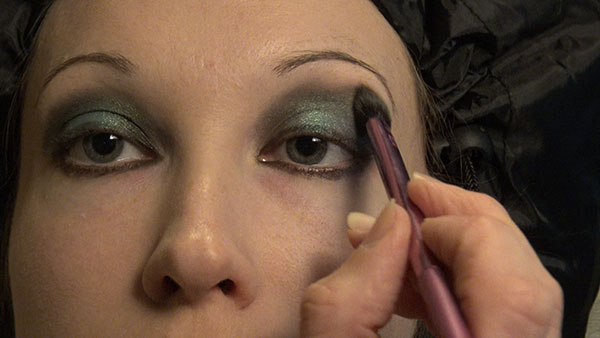
Now, I’m using this dark charcoal/dark gray color. I’m applying that on either side of the turquoise and above it, ending just under my brow bone. I’m not going above the brow bone.
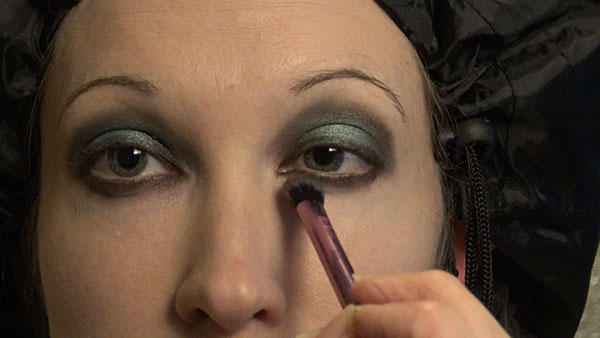
Apply in the inner corner of the eye as well, not going too far outside of the lid itself. Blend it up slightly on to the very bottom of the brow bone. And then, you’ll want to apply it on your lower lid, as well. (Apply to the lash line, going slightly beneath it as you brush on the color.)
Brows
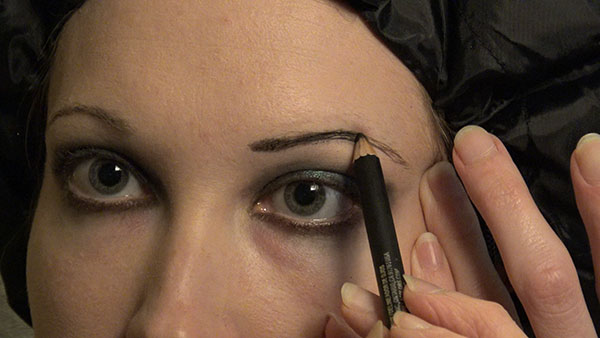
For the eyebrows, I start out by combing them to make them neat. The eyebrows of the 1920s weren’t quite as arched upward as the brows of the 1930s. The beginning of the brow, or the inner corner of the brow, had sort of a straigher line. So, I’m trying to keep kind of a straighter line on my natural brows.
Then, curve that line all the way down, ending parallel to the very outer corner of your eye. I’m using a black eyeliner for this, just because I wanted a very dramatic, sort of vamp look. If you prefer, you can use a pencil that’s more the color of your natural brows.
Cupid Bow Lips
And now for the cupid bow lips!
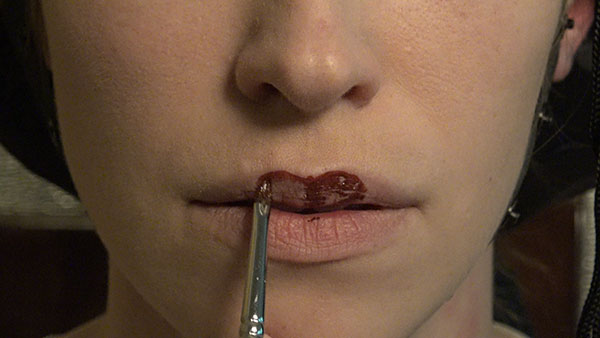
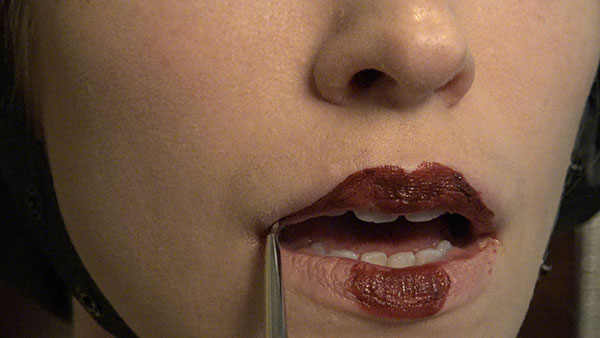
For these, I prefer to use a lip brush, and I begin by drawing a line between the “mounds” of my upper lip. Staying within my natural lip-line, I begin to paint these sort of little circles within each mound of my lip.
Then on my lower lip, I paint on a sort of half-circle parallel with the outer lines of each circle above (you’ll have 3 circles).
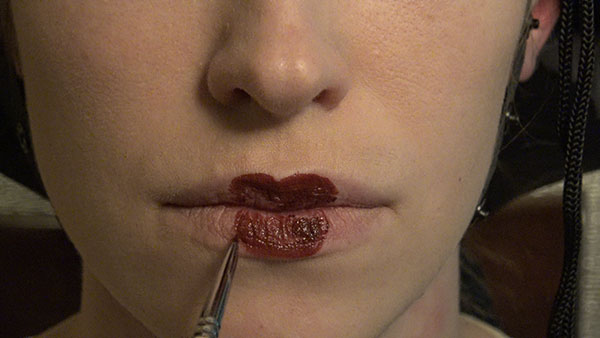
Then, begin to fill these in; you’ll want to stay within the natural line of your lips.
On your top lip, begin painting out from the circles that you drew, taking them to the outer corner of your lip. Give that line a slight curve when you do this.
For the bottom, paint a line connecting the inner corner of your lip to the circle on the bottom. ( some of you may prefer to shorten your lips and draw an inner border!).
That’s all ! © Tia Semer Glamourdaze.com